
Photoshop
Natural-language photo editing in desktop Photoshop.
Describe the edit in a chat. Your AI plans each step, Photoshop carries it out with its own adjustment layers, masks, selections and filters, and you get back a layered PSD you can keep changing by hand.
Requires Photoshop 2026 (v27.x) on Windows or macOS.
What it is
Photoshop, but the AI does the menus.
Editmamei gives your AI assistant Photoshop's documents, layers, selections, adjustments and filters as tools it can call. You describe the result you want, and it does the menu work.
1
Desktop Photoshop, driven by language
Editmamei drives desktop Photoshop, where your files already are, using the same tools you would reach for.
2
Non-destructive by default
Editmamei builds the kind of layer stack a working editor builds: adjustment layers, masks and groups. Pixel work such as a filter lands on a duplicate layer, so the original is always there to go back to.
3
It checks its own work
Each step gets checked with a preview, a histogram or a region compare, so the AI judges the result from the photo itself before it moves on.
The process · Hawaii bay wall art
One conversation, start to finish.
The AI plans each step and Photoshop runs it. Halfway through it pauses on a judgment call, gets an answer, and carries on.
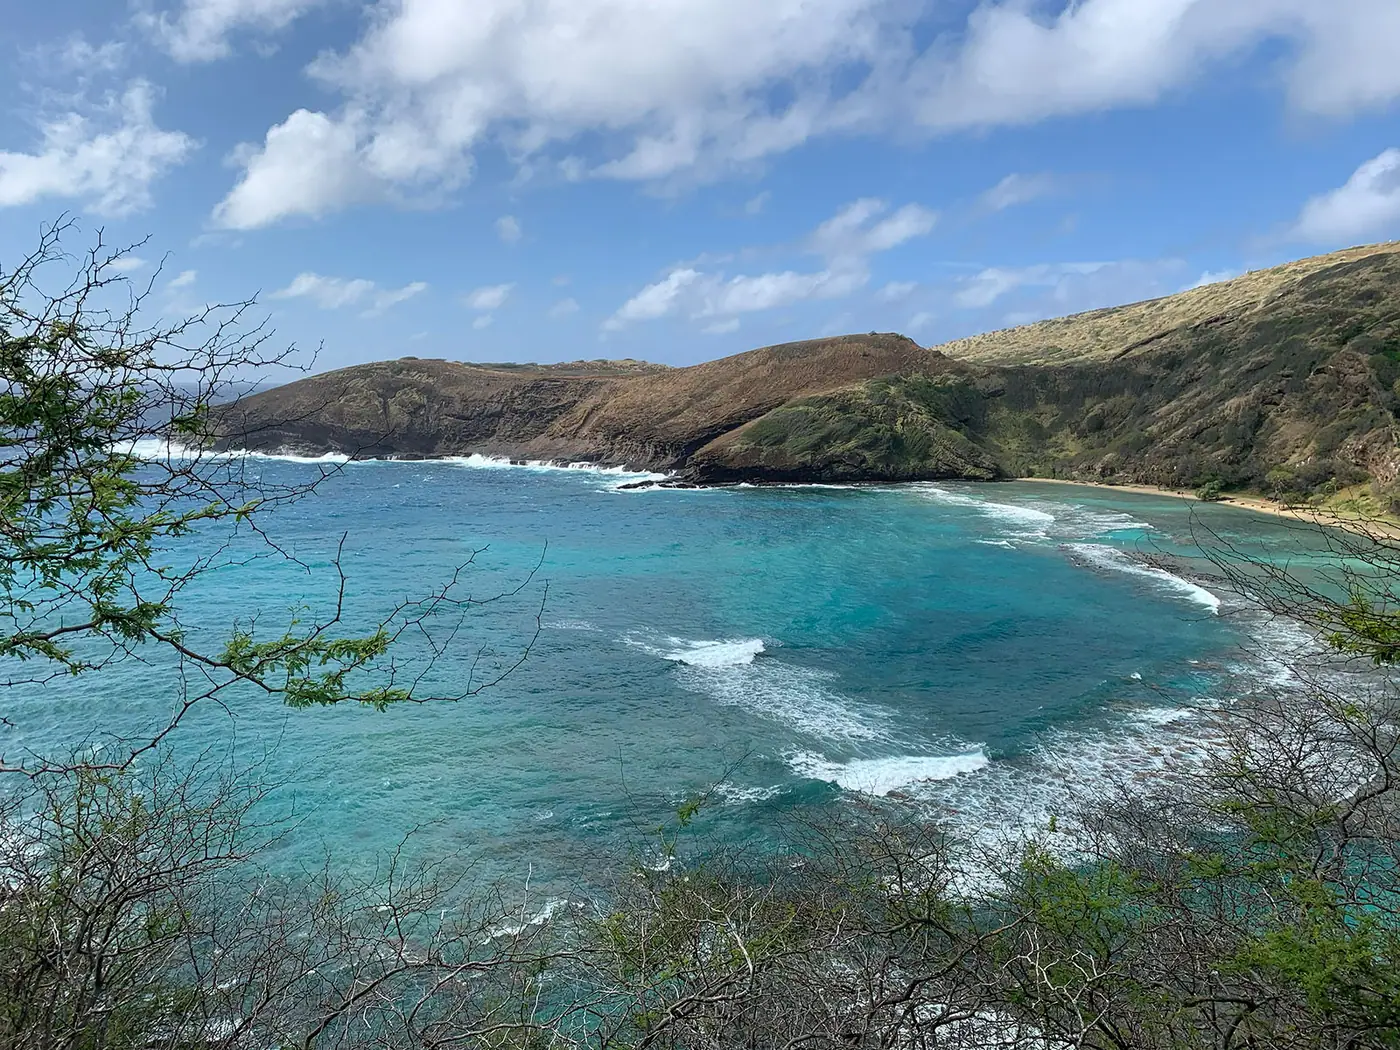
A replay built from the real Photoshop exports of this edit, with the conversation condensed: the user asks for a print-ready wall-art edit of a Hawaii coast photo. The AI opens it in Photoshop and builds adjustment layers one at a time, pauses to ask whether the headland looks too cool, the user replies “a touch warmer”, the AI warms the headland and finishes with a 16:9 crop. Every step stays an editable Photoshop layer.
What it does
What the AI can do in Photoshop.
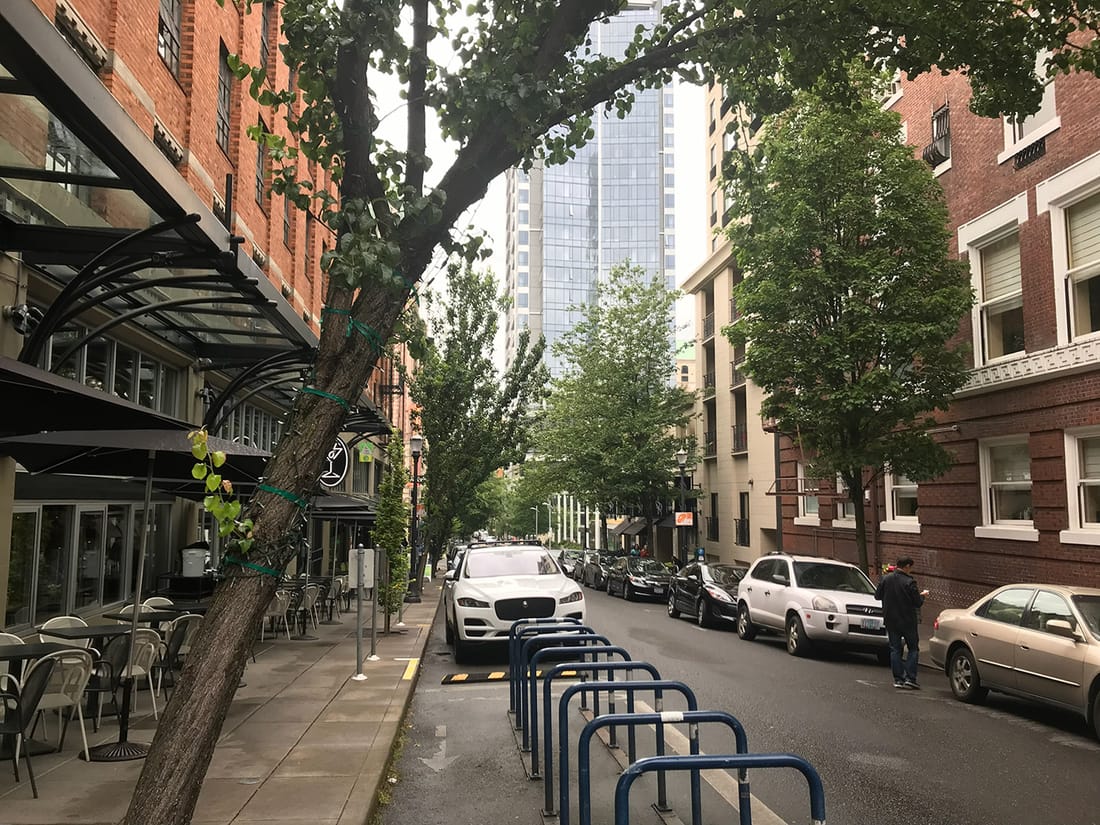
Eight of the categories, each shown as one Photoshop tool run on the same photo. Hover or tap a result to see the original.
Documents
Open PSD, JPEG, PNG, TIFF, DNG, HEIC and the standard raw formats, with raw files able to open straight to 16 bit. Save layered PSDs and export JPEG or PNG. Camera details (make, model, lens, ISO, focal length, GPS) and Camera Raw settings reach the AI before it edits.
- Saturation +42
- Deepen sky
- Background blur
- Background
Layers
Create, duplicate, delete, rename, reorder, group, merge and flatten. Set opacity, blend mode, visibility and locking, and move, scale or rotate a layer. The AI can read the whole layer stack at any point, so it works from what is in the file.
 Select Subject
 Smart selections
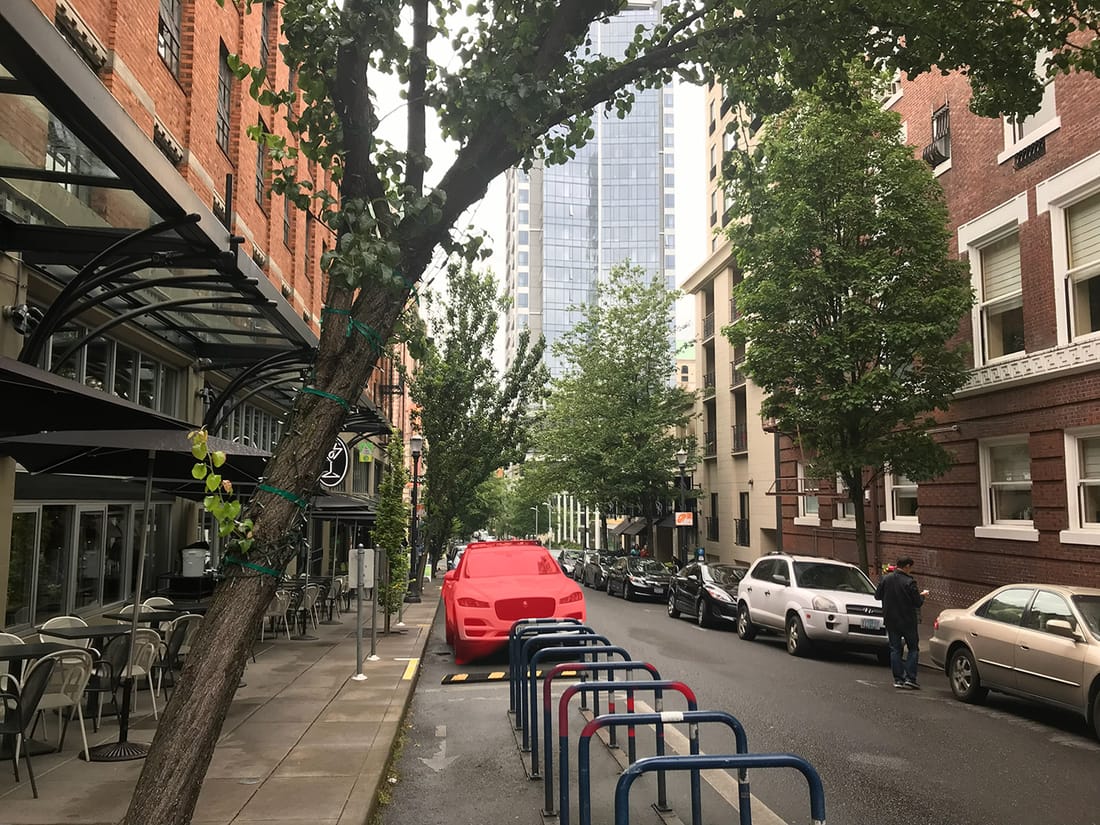
Magic Wand, rectangle, color and luminance range, feather and refine edge, plus Select Subject and Select Sky. A selection reports how much of the image it covers and how complex its edge is, so the AI can check it before building a mask or adjustment on it.
Non-destructive adjustments
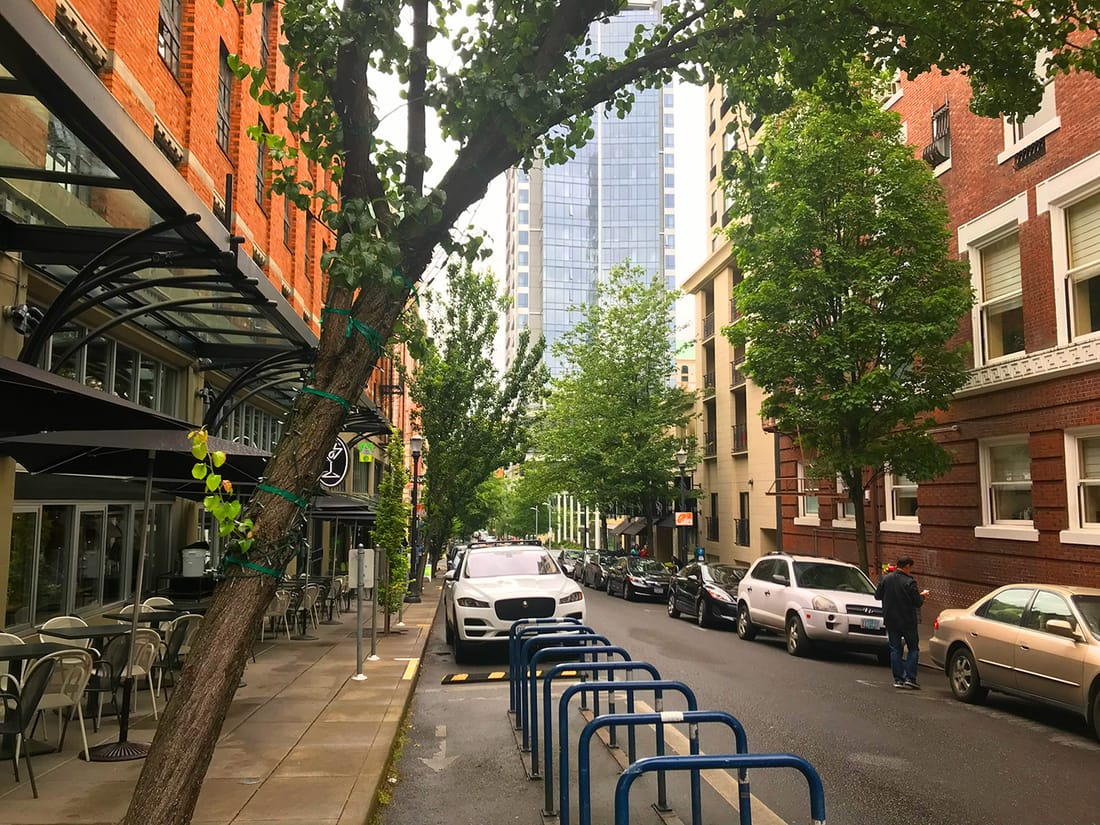
Curves, Levels, Hue/Saturation, Color Balance and more, each as its own adjustment layer. An active selection becomes the new layer’s mask.
Filters and styles
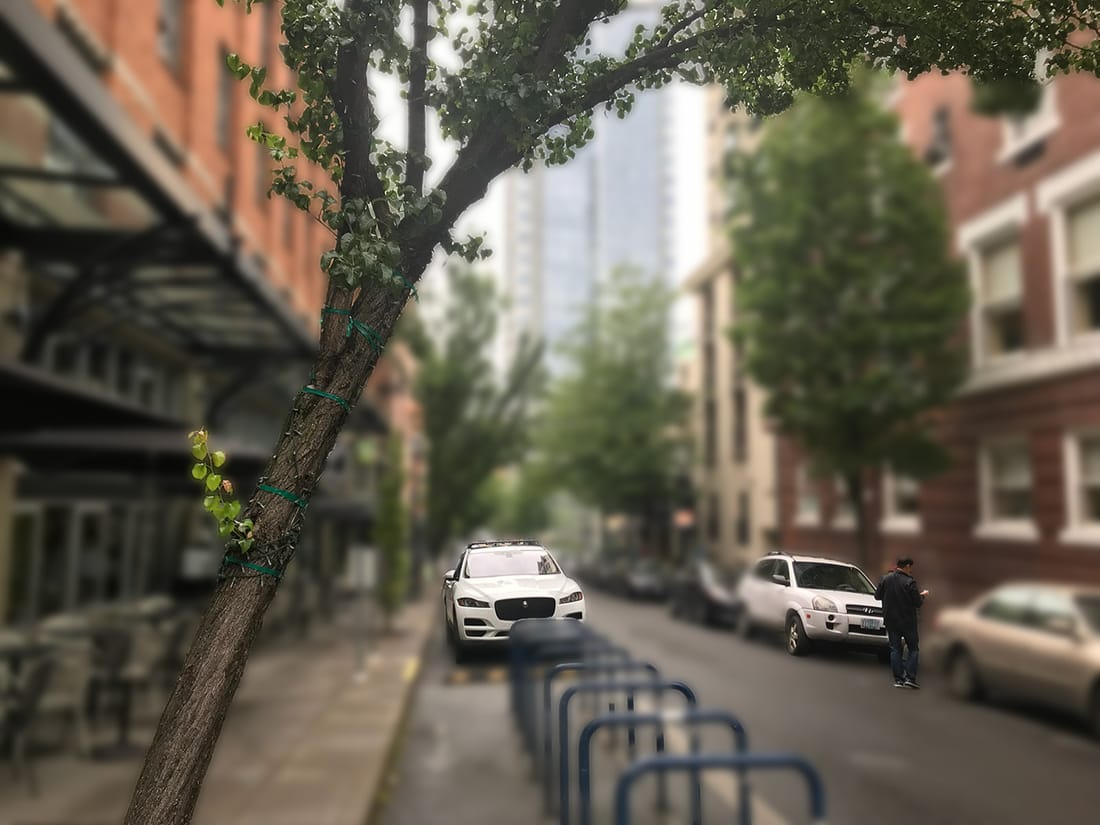
Gaussian Blur, Motion Blur, Sharpen, Smart Sharpen, Reduce Noise, High Pass, Shadows/Highlights and Add Noise, plus drop shadow, stroke and outer glow as layer styles. Filters land on a duplicate of the layer by default, or as a re-editable Smart Filter on a Smart Object.
Masks
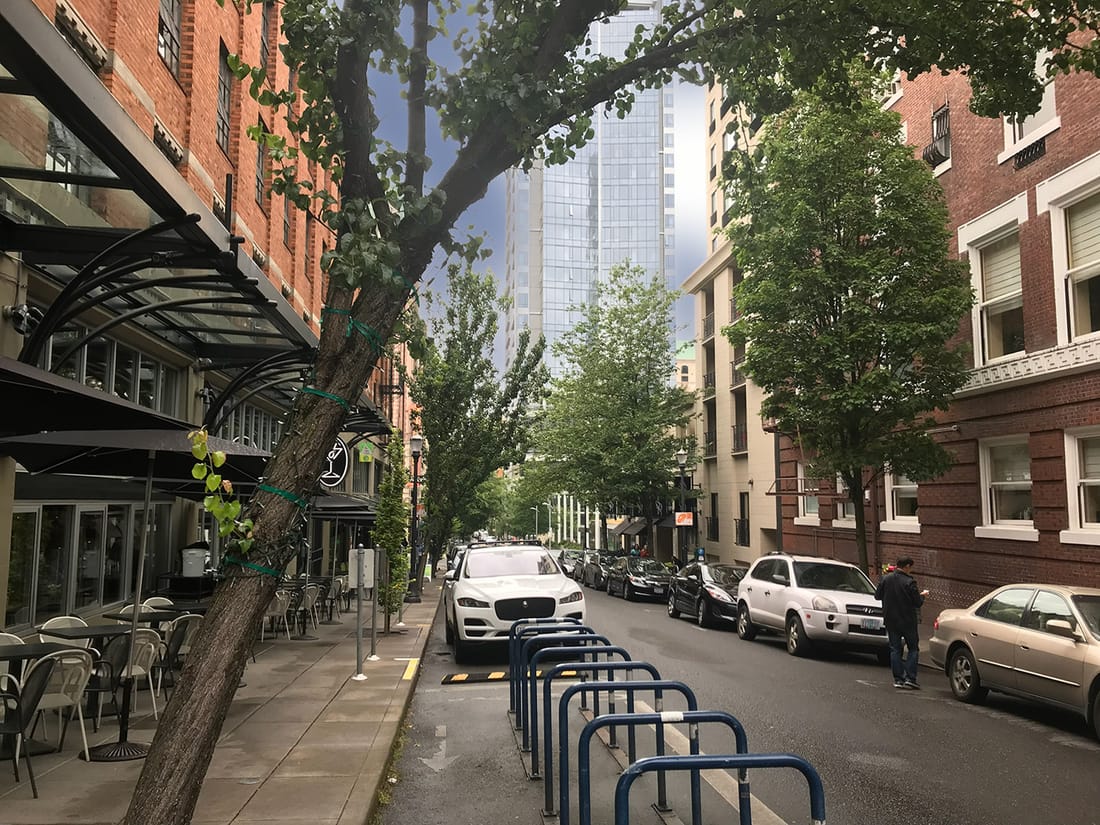
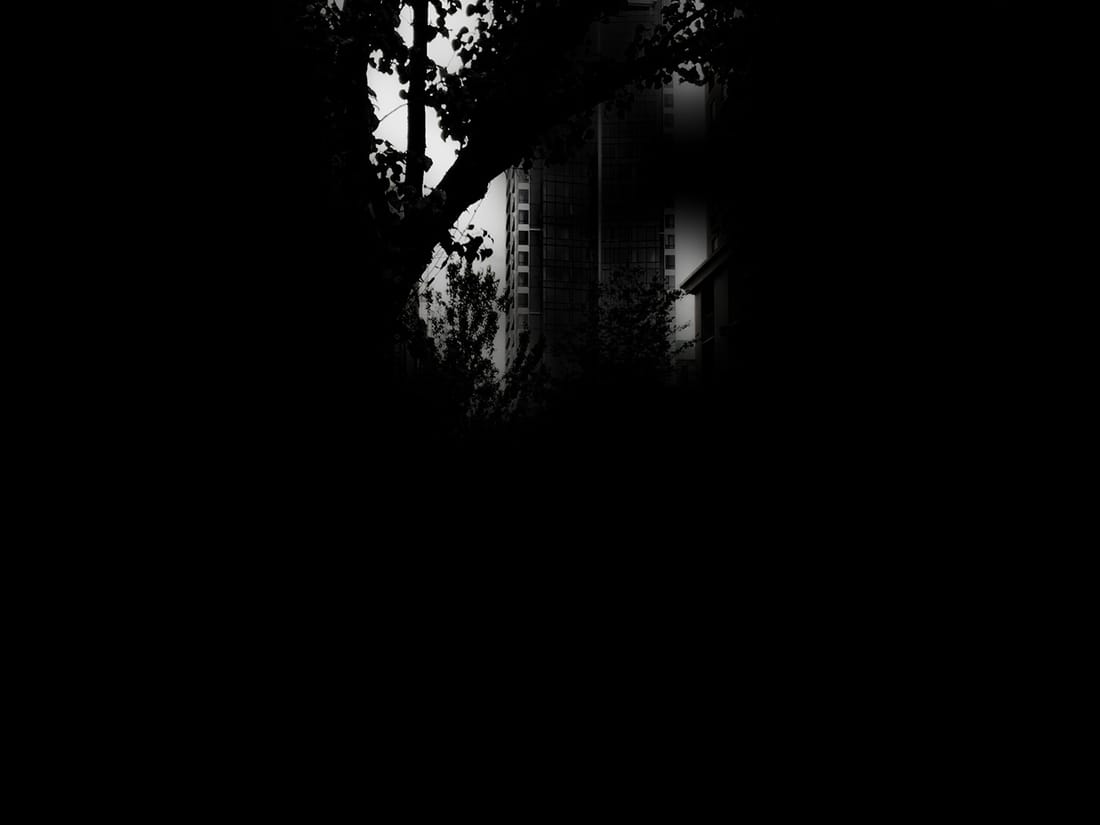
Layer masks from the active selection or reveal-all, applied or deleted on request, plus vector masks and clipping masks.
Templates
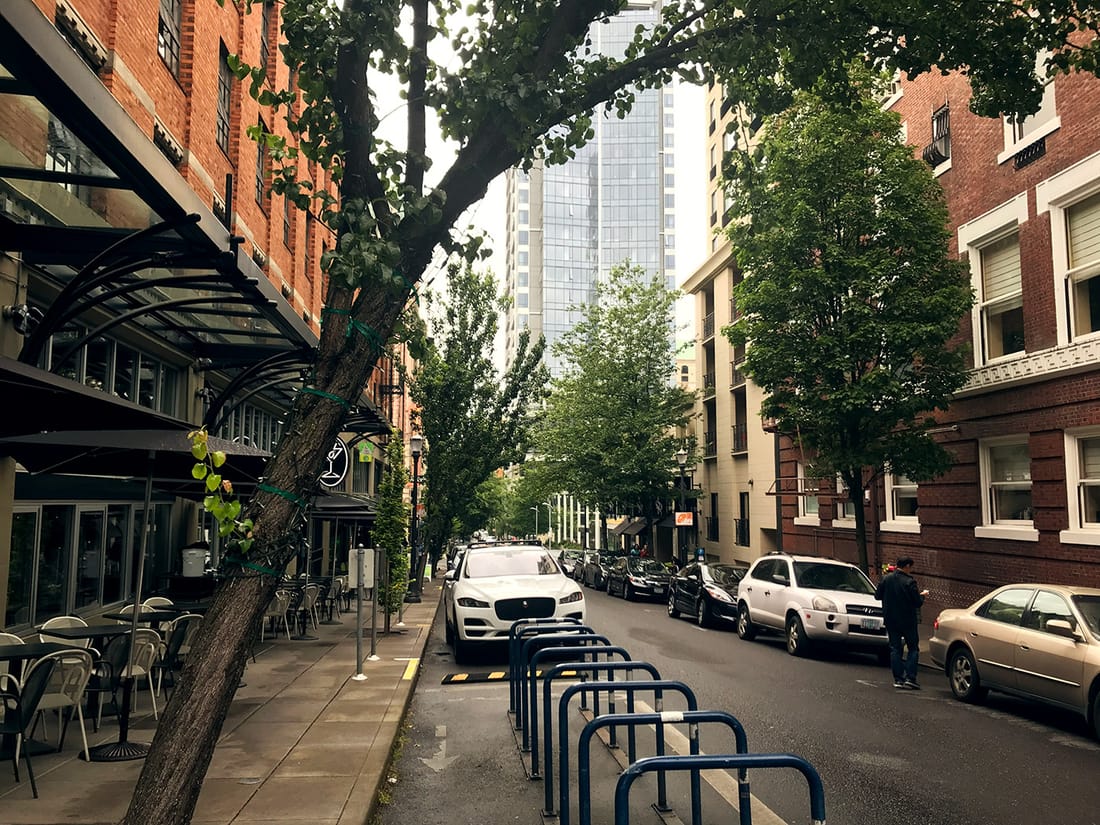
Save a finished edit as a recipe, then apply it to new photos. The AI fits each value to the photo in front of it and checks the result against what the recipe was meant to achieve.
Visual verification
A downscaled preview when the AI asks for one, so it sees the document instead of trusting a success message. Per-channel histograms let it check with numbers that an edit changed what it meant to change.
The round-trip
Behind a single adjustment.
What happens between your sentence and a finished layer, including the loop where the AI checks its own result.
You
AI assistant
in the cloud
Editmamei
on your desktop
Photoshop
on your desktop
- You AI assistant
“warm up the golden hour, lift the shadows, clean up the horizon”
- AI assistant Editmamei
“add a warming curves adjustment layer”
- Editmamei Photoshop
runs the edit using Photoshop's own scripting commands
- Photoshop Editmamei
edit applied + updated layer info
- Editmamei AI assistant
structured result: what changed, what's now in the document
Loop · Check & refine
- AI assistant Editmamei
“check the result: a histogram, a region compare, or a preview”
- Editmamei Photoshop
measure the pixels, or render a downscaled JPEG
- Photoshop Editmamei
the numbers, or the preview
- Editmamei AI assistant
what the photo looks like now, measured or seen
More to adjust? The AI sends another instruction. Looks done? It hands back to you.
- AI assistant You
“done: your photo's ready, fully layered and editable”
Both live where they already do: the AI in the cloud, Photoshop on your desktop.
What you say to it
Prompts that work today.
The AI reasons about intent. Editmamei handles the choreography.
Example 1 · Landscape grade in one sentence
"Open E:\Photos\beach.jpg. Build a non-destructive editing stack with Curves and Hue/Saturation adjustment layers, group them as 'grade', and warm the midtones slightly. Save the layered PSD next to the original and export a 2400px sRGB JPEG."
What happens
Roughly ten tool calls, each one verifiable and each one undoable.
Example 2 · Portrait warm-up with feedback
"Open this portrait. Use Select Subject to isolate the person, feather the selection 2 pixels, and add a Curves adjustment layer masked to that selection that gently warms the skin tones. Show me the before and after."
What happens
The AI can look at a preview at any step to see what the document looks like and adjust. Selection feedback tells it whether Select Subject took in the whole person or needs refining.
Example 3 · Fix the geometry before the photo opens
"Develop this raw file before opening it: level the horizon with Upright, correct the lens, and open it at 16-bit."
What happens
Camera Raw’s settings file is written next to the photo and Photoshop opens the developed file, so the leveling and lens correction that a filter can’t reach are already applied.
Example 4 · Develop in Camera Raw, then change your mind
"Open this beach shot and develop it in Camera Raw: warm the white balance slightly, lift the shadows, add a touch of dehaze and fine grain. Actually, bring the dehaze down a notch."
What happens
The Camera Raw Filter lands as a re-editable Smart Filter. For the follow-up, the AI reads the applied settings, changes one value, and reapplies. The other sliders never move.
Example 5 · Placement you can trust
"Place the logo halfway between the two surfboards, and bend the banner to follow the shoreline."
What happens
The AI names the places. Local vision finds the boards and the shoreline, Editmamei works out the exact pixels and checks the geometry before anything is applied, then shows the AI a zoomed crop to review.
Example 6 · One look across a folder
"Apply my 'warm coastal' template to every image in E:\Photos\shells-raw\, exporting flattened JPEGs to E:\Photos\shells-web\ at 2000px square."
What happens
The template carries the look: the AI applies it photo by photo, fitting each value to the frame in front of it. The square crop, resize and export then run as one batch, which Editmamei hands to Photoshop as an Action so Photoshop works through the folder itself.
Not yet
What it doesn't do.
Lightroom
Editmamei works in Photoshop, and in GIMP in beta. It does not drive Lightroom.
Photoshop Elements
Elements does not expose the scripting interface that full Photoshop does, so Editmamei cannot drive it.
Camera Raw’s local masks
The AI sets Camera Raw’s develop sliders, but cannot draw its local masks. When it develops a raw file, masks you made by hand in Camera Raw are carried through untouched.
Developing HEIC before it opens
HEIC photos open and edit as usual. Photoshop opens them by a route that never reads Camera Raw’s settings file, so a develop-before-open request for a HEIC is refused.
One photo or a hundred?
Pick the AI client to fit the sitting.
Editmamei works the same in every supported AI client. The client you choose changes how long a sitting lasts before things start to feel slow.
One photo, one sitting
Claude Desktop
The easiest setup and the most familiar if you've used Claude on the web. A great fit for a hero shot to grade, a portrait to retouch, a quick template to apply. Open the app, ask for the edit, watch Photoshop do it.
Cursor users: the experience is the same. Use whichever is already in your workflow.
A whole set, repeating templates
Claude Code
Claude Code suits a sitting that runs to hundreds of edits, like a whole wedding set or a long run of template work. A one-time terminal install gets it going; after that it works the same way Desktop does.
If you find a Desktop session getting sluggish in the middle of a batch, this is the fix.
Not sure? Start in Desktop. The first time you feel a session getting slow, switch to Code. Other MCP clients work the same way. The FAQ and the installation guide have the details for each client.
Install
Install in about a minute.
One click for Claude Desktop, two commands for everything else.
Requirements
- Adobe Photoshop 2026, internal version 27.x (earlier versions unverified), or GIMP 3.2 for the GIMP beta
- Windows 10/11 or macOS 13+ (Apple Silicon or Intel). The GIMP beta also runs on Linux, through npm.
- Node.js 22+, only for the npm path (Claude Desktop bundles its own runtime)
- An MCP-compatible AI client. Editmamei has no AI model, so every edit spends that client's tokens (see what an edit costs)
Supported clients
- Claude Desktop: one-click (.mcpb)
- Claude Code: npm
- Cursor: npm
Other MCP clients use the same config; the install guide has it.
Full setup walkthrough in the Getting Started guide.